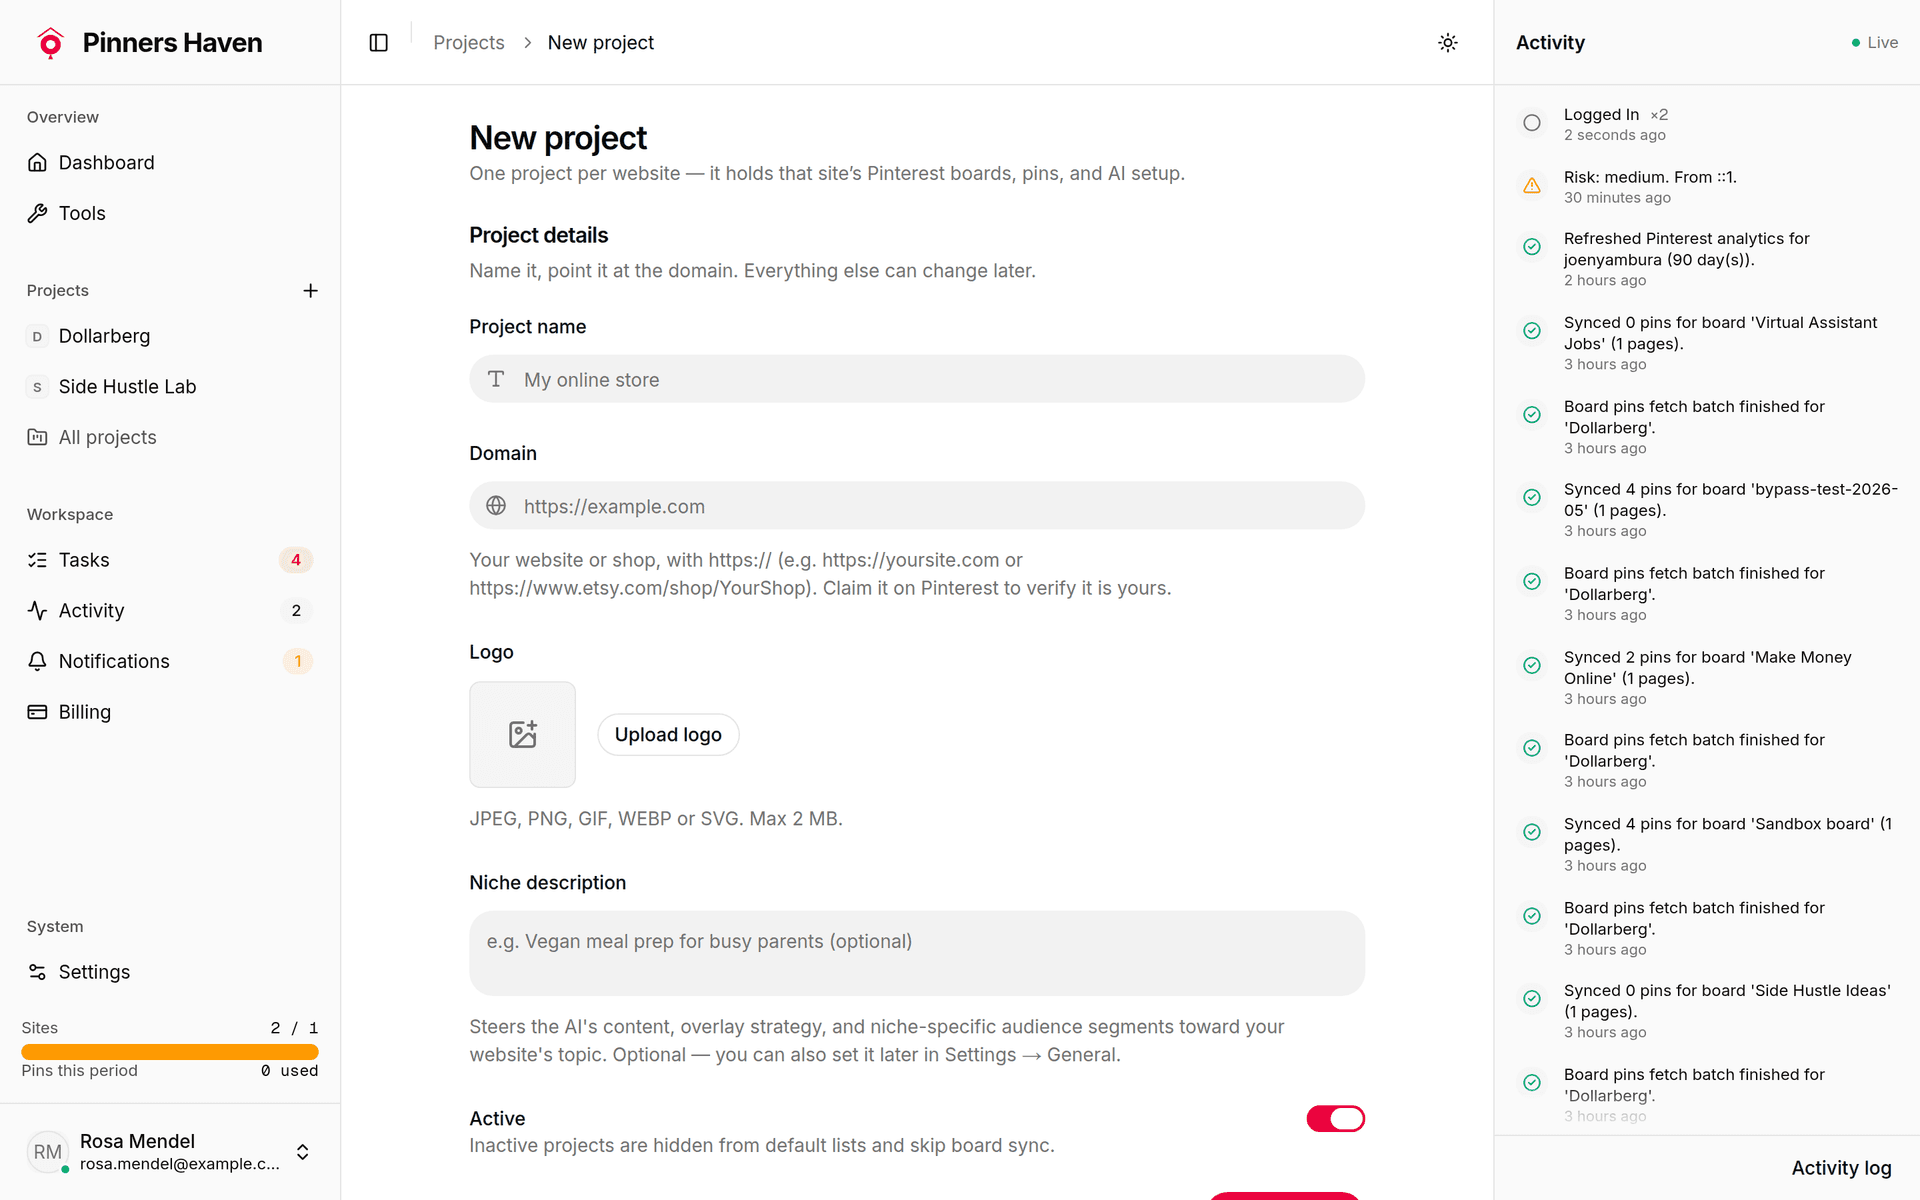
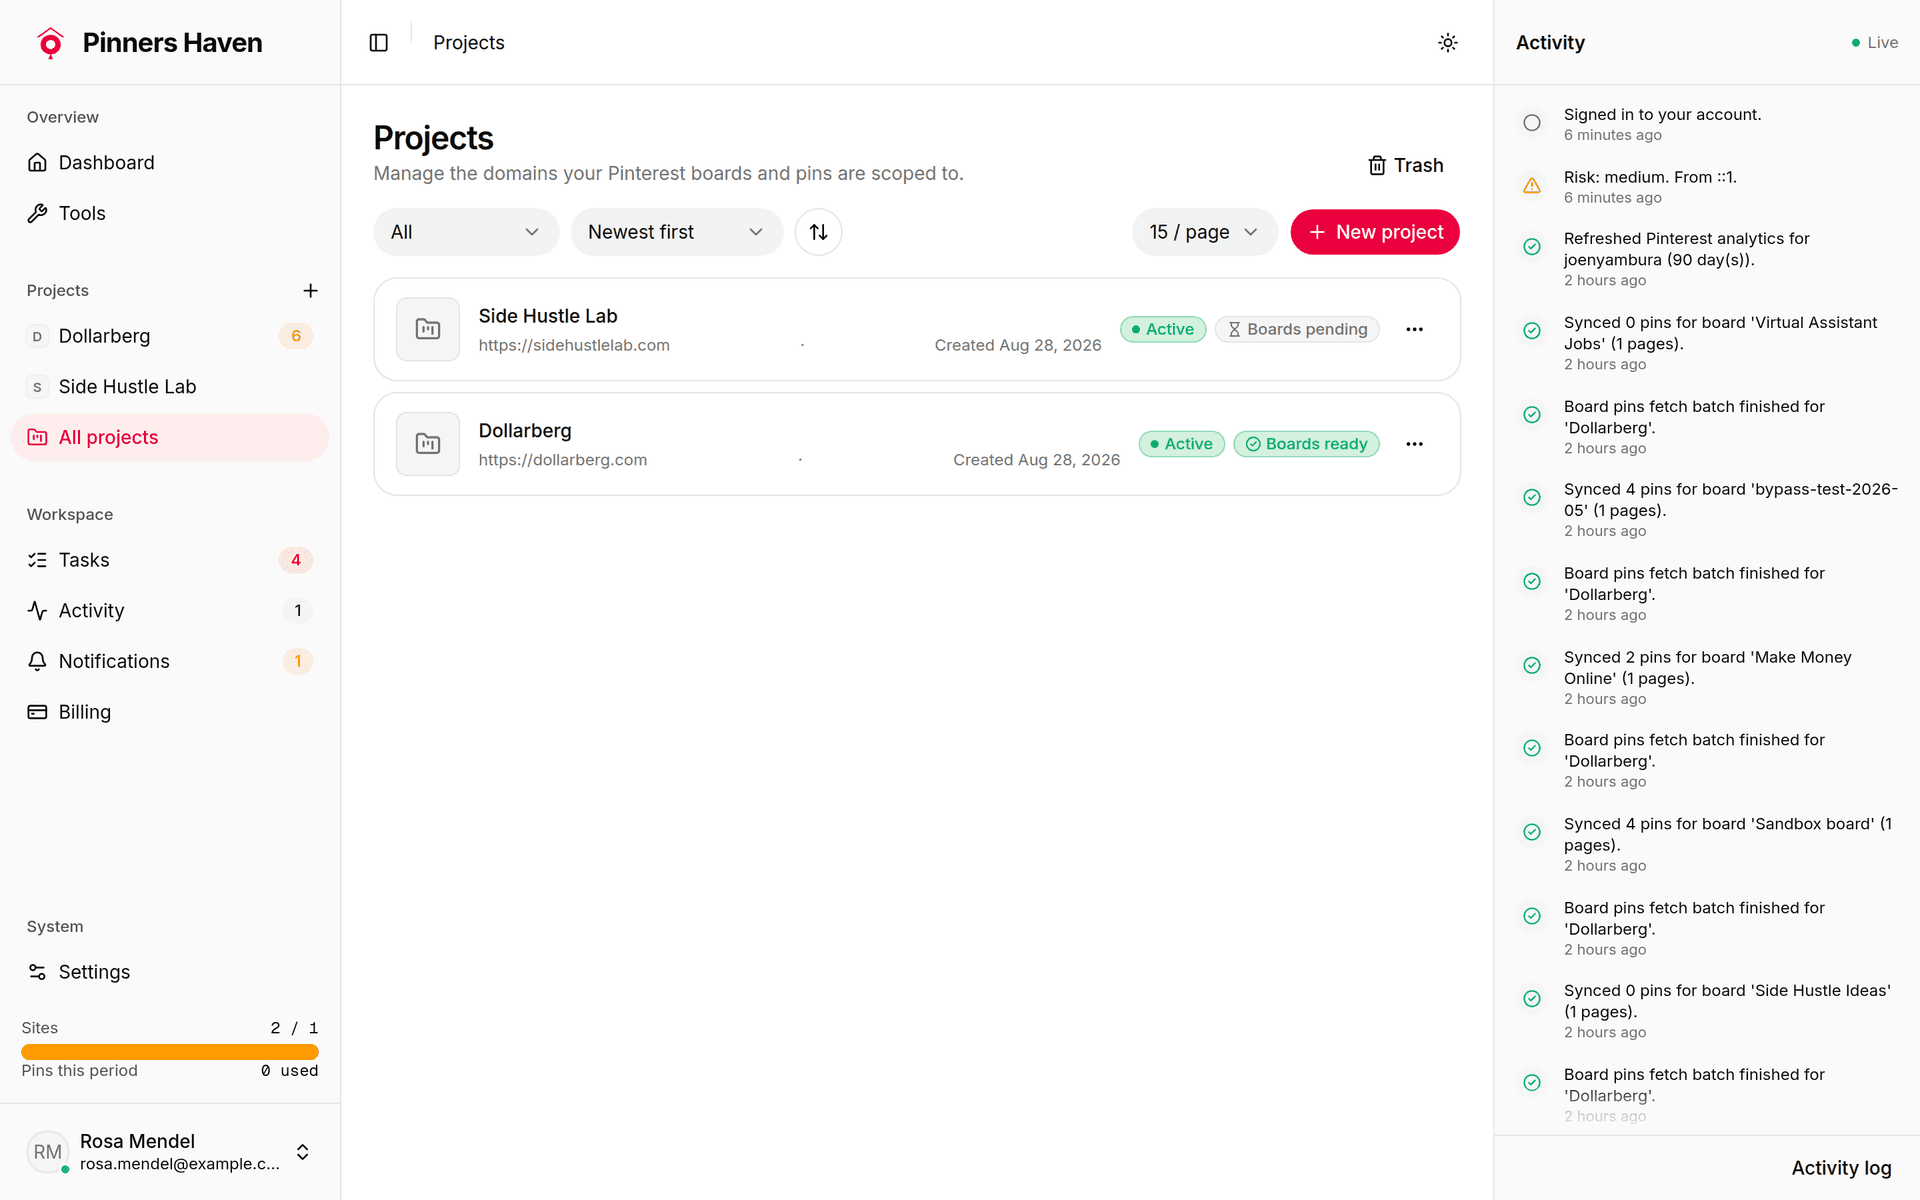
A project is one website. The app says it on the form itself: "One project per website — it holds that site's Pinterest boards, pins, and AI setup."
If you run three blogs, that's three projects. If you run one shop, that's one. There is no other way to slice it — the app enforces the rule, as you'll see below.
Create it
Press the + beside Projects in the sidebar (it's labelled New project), or open All projects and press New project. The direct link is New project.
Five fields, only two of which are required:
Project name — how you'll recognise it in lists. Anything you like.
Domain — the site this project pins for: "Your website or shop, with https://". A shop works too — an Etsy shop URL like https://www.etsy.com/shop/YourShop is a valid domain.
You can't add the same domain to two of your own projects; the form answers "A project with this domain already exists." The helper text also asks you to "Claim it on Pinterest to verify it is yours."
Logo(optional) — JPEG, PNG, GIF, WEBP or SVG, max 2 MB.
Niche description(optional, but do it) — it "steers the AI's content, overlay strategy, and niche-specific audience segments toward your website's topic." Write a sentence or two describing who the site is for and what it covers.
Active — leave on. "Inactive projects are hidden from default lists and skip board sync."
Press Create project.
The domain rule is not cosmetic
When you later add a blog post, its URL must be on the project's domain. A post at yoursite.com/article cannot be added to a project pointed at a different domain — the form rejects it.
What a project needs before it can do anything
A fresh project is an empty shell. Three things have to land before pins can be generated and published, and the order matters:
In this order
1
An AI key on your account.
You only do this once, ever: every project shares it. See Get an AI key.
2
A connected Pinterest account.
Not just for publishing: connecting pulls in the project's boards, and you need at least one board before you can add a blog post. See Connect Pinterest.
Pinners Haven does not invent topics. It turns pages you already have into pins. The dashboard checklist says it plainly: "Blog posts are the source material we turn into fresh pins."
So a project with no blog posts generates nothing, no matter how good your key is.
To add one, open the project and go to Blog Posts → New blog post. You'll give it:
Title — the post's title.
URL — "Full URL of the published post. Must be on this project's domain."
Pinterest boards — between 1 and 10 boards to pin to. This is why Pinterest has to be connected first: the board list comes from your account. If a board is missing, it's probably inactive — "activate a board first if you don't see it."
Pinterest keywords — comma-separated Pinterest search terms this post should target. "A pin title is generated for each one." These drive everything downstream.
The form also has Scheduling priority, Pinning lane and Active. Leave them at their defaults for a first post; Publishing covers what they change.
Mark it a listicle if it is one, and give the item count — the generated titles will use the number.
How many projects can I have?
That depends on your plan: 1 on Free and Starter, 3 on Solo, 25 on Operator, 50 on Portfolio. During your trial you have Solo's allowance of 3. Free vs paid compares the plans.
If you hit the ceiling, a Project limit reached prompt names your plan's number — for example, "Your plan allows at most 1 project(s) — one per website. Upgrade to add more." Its button, Upgrade to add more projects, takes you to your plan options.
Deleting and deactivating
Deactivating a project (the Active toggle) hides it from default lists and stops board sync. Nothing is deleted, and you can switch it back on.
Deleting moves the project to Trash (on the All projects page), where it can be restored. Use deactivate when you're pausing a site; use delete when you're done with it.